
Here is an example of a simple model that can serve as an introduction
to modular origami. The images are pictures taken with a digital camera.
1. The unit is the water bomb base: the tent that collapses to be a triangle, with two flaps on each side. Make 6 of these in sets of 2 for each of three colors. We will assume the colors are red, white, and blue.
2. Each set of two matching units will be oriented to face each other,
bottom facing bottom.
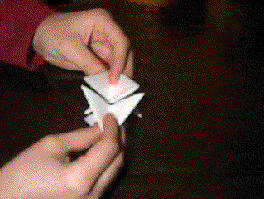
There are three sets corresponding to the three dimensions of space. You can
think of it as up-and-down, left-and-right, and forward-and-backward. Using more
mathematical language, define a typical coordinate system with x, y, and z-axes.
The x-y plane is parallel to the floor and the z-axis corresponds to up and
down. Pick up one red unit and hold it so that it points to the left, and the
four flaps (triangles) form a cross: two lie in a plane parallel to the floor,
and one is straight up and the other straight down. The point is towards your
palm, and the open edges are just beyond your fingertips.
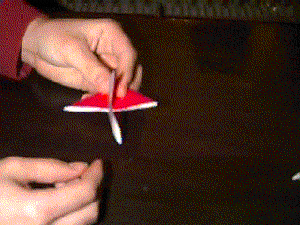
3. A feature of all modular models is the way parts of the units fit into
parts of other units. These are sometimes called 'pockets and tabs'. The
horizontal flaps of this first modular will form pockets, and the vertical flaps
will form tabs. Pick up a white unit. Holding it with the bottom of the four
flaps facing you, slide the left horizontal white flap into the far horizontal
red flap.
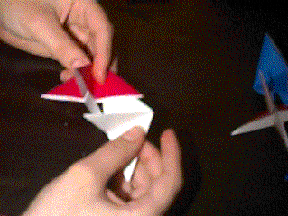
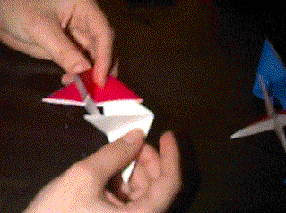
4. The bottoms of the red and white modulars are both in vertical planes. The
blue modular must now go on top with its bottom in a horizontal plane.
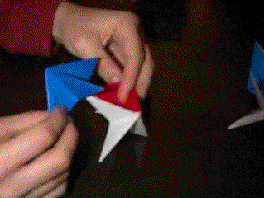
The red is covering a white flap. Therefore, the blue modular must be placed
so that it covers a red flap and is covered by a white flap.
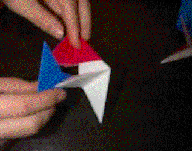
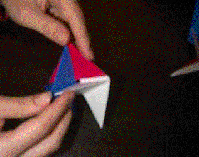
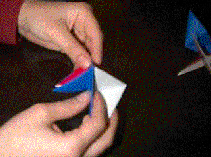
5. The challenge now is to complete the model! Take the second red unit. You want it to be opposite the first red unit and have the flaps in the horizontal plane on the outside. Orient it to be facing the first red unit, and poke a flap into the blue flap opposite the one that is over the flap of the first red unit. Similarly, poke the mate of the white flap that pokes into the other red unit into this red unit.

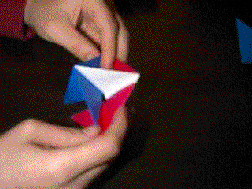
6. Continue with the other white and the other blue.
How does this work? It may be advantageous to construct a table of the
pockets and pokes, with a row corresponding to a unit. In the table, the units
are given names. For example, the two red units are called red1 and red2. The
table indicates the positioning of each of the four flaps of each unit.
Every unit has 4 flaps. There are 5 other units. Every unit is connected in
some way to 4 of the 5 other units. The one it is not connected to is the unit
of the same color. Two of the flaps are pokes, and two are pockets. This level
of analysis does not have to be made explicit immediately but it can be helpful.
Ask the students to take their models apart. Note that this is not
difficult to do because the connections do not have the type of locking
mechanisms that many other more complex and necessarily more robust modulars
have. Ask them to visualize how it goes together and then put the model
together, visualizing the next step before they do it.
Do organize the students to teach this model to each other with
rehearsals and collaboration on the teaching methods. It is sufficiently
challenging that students will appreciate any especially evocative methods of
communication.
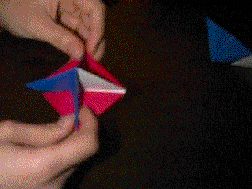
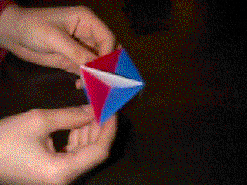
Name of unit
flap 1
flap 2
flap 3
flap 4
red1
under blue1
over white1
under blue2
over white2
red2
under blue1
over white1
under blue2
over white2
white1
over blue1
under red1
over blue2
under red2
white2
over blue1
under red1
over blue2
under red2
blue1
over red1
under white1
over red2
under white2
blue2
over red1
under white1
over red2
under
white2