
Since we are discussing two frog models in this paper, and, in fact, there are more, the reader and students may ask why? One explanation is that the word for frog is close to the word for 'return'. The wives of fishermen put frog models in the household shrines to indicate the hope for the safe return of their husbands.
The diagrams here were made by placing actual models on a scanner. For
clarification, some lines and a text box were added in Word. 
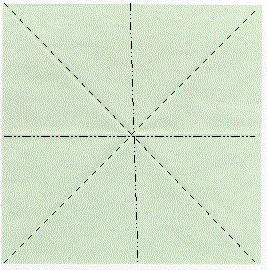
1. Make book (horizontal and vertical) folds on the white side of the paper and diaper (diagonal) folds on the green side.

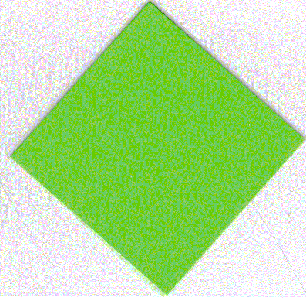
2. Collapse the model to form a diamond shape and then fold over flap to centerline.
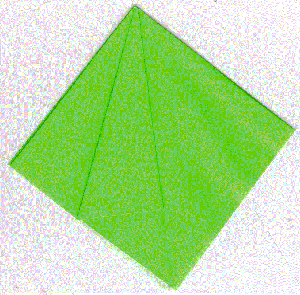
3. The squash fold is made by taking apart the fold just made, putting your finger in the flap, and then folding (squashing) it down. Repeat for each of the remaining 3 flaps.
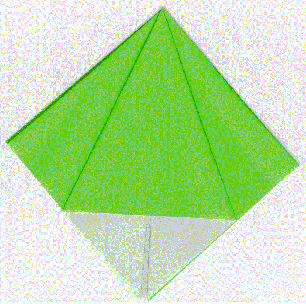
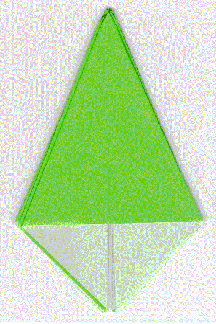
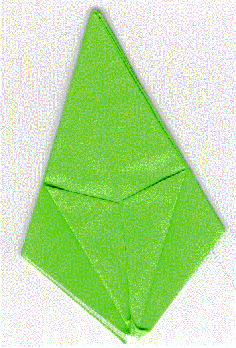
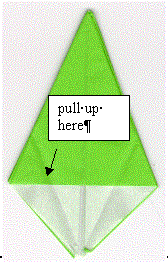
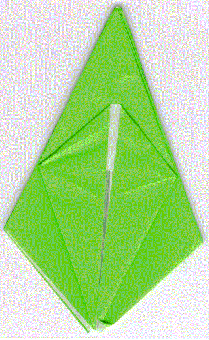
4. The next step is to make what is termed a petal fold: fold in the sides, unfold, and then pull up on the raw edge and let the sides collapse. The middle figure shows a so-called textbox and an arrow produced by the Word draw facility.
Repeat the petal fold three more times. The next folds are on the smooth sides of the flaps. Flip the flaps over like turning the pages of a book (a minor miracle in origami jargon). Repeat three more times.
5. At this point, the model has four points that are the legs. The remaining folds shape the front and back legs, the front legs positioned towards the head and the back legs out to the sides. The fold used is a reverse fold (this is difficult to represent in diagrams, but fairly easy to demonstrate).
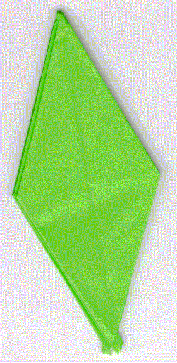
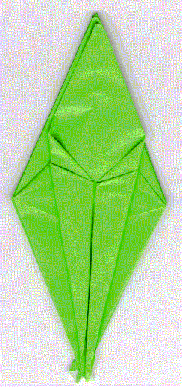

6. The back legs are positioned to point out to the sides. The image shows all four legs in place. Make joints in each of the limbs (think knees and ankles for the back legs and elbows and wrists for the front legs). Blow into the frog to make it fatter. This last image was done still using the scanner by propping it up so that it wouldn't crush the model.
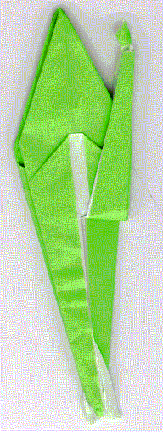
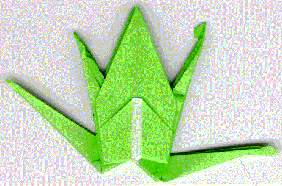
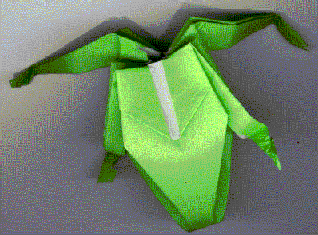
Note: The folding shown in the images was done by the second author and not the third.
The frog begins with what is called the preliminary base. It is made by the same folding pattern that produces the water bomb base: You can encourage students to examine this fold, figure out which folds are 'closed', and imagine themselves inside the model, looking out. It may be worthwhile to build a giant version and let the students stand or sit under it when it collapses around them.
The folding process for the frog reveals certain symmetries. For example, many folds are done in sets of four, starting with the four flaps of the preliminary base. What are these symmetries? When is it useful to consider the model flat, more-or-less two-dimensional, and when is it appropriate to consider it three-dimensional? Some directions indicate that you are to blow into the frog. How are the folds similar to the water bomb? How does this frog compare to the business card frog. Note: if you keep the frog flat (do not blow into it), it will jump in the same way as the business card frog jumps. How do the final dimensions of the frog compare to the size of the original square?