
This is a traditional fold for which the water bomb base was named. It
generally has more durability if filled with air intead of water! The diagrams
below were also made using the common software program Paint. 
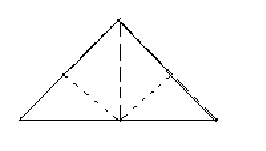
| Begin with water bomb base. |
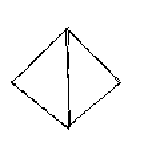
| On each flap fold the point up to rest on the center point: four folds, two front and two back. |
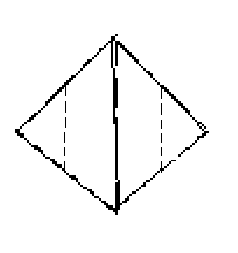
| Fold in the side corners to the centerline. This is done four times, though you may also think of it as folding in the two corners to meet in the center and then doing that twice for the front and the back. This makes pockets. The diagram has been doubled in size (using the stretch option horizontally and vertically) from the previous images to improve readability. |
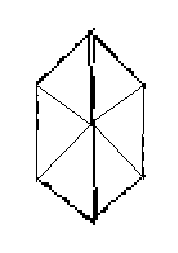
| You will now do what is called locking the model by creating and inserting a tab. Fold down the free points out over the pockets. |
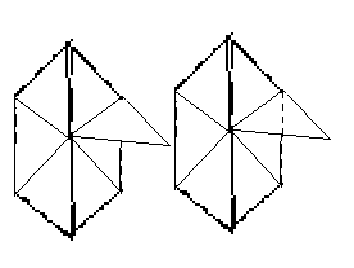
| Fold point back on itself. |
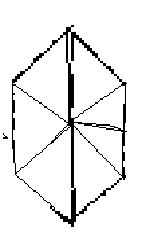 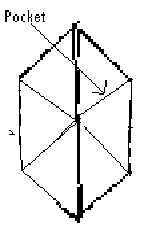
| Tuck the tab inside pocket. Repeat with remaining flaps. |
Now to prepare for the next step in which the model assumes a 3-D shape and it is best to prepare for the shaping of the ends, fold the top and the bottom points to the center and unfold. Find the end of the model with an opening. Blow into the opening while pressing gently on the other end. The model will become a closed box.
After the first fold is made. you can ask students to describe what is being done to the triangle. This step was repeated four times. You can ask the students after demonstrating each of the next several steps how many times they think each is repeated.
Why does the model stay together when you blow into it? You have created pockets and then put tabs into the pockets. This makes the model retain its shape. You can also think of the model as having a rough 3-D shape from the time you created to tent-like so-called water-bomb base. You just worked with it in a relatively flat form.
You can use the traditional water bomb, or any other model that assumes a three-dimensional shape, as a basis for questions on linear dimension, surface area, and volume. What is the volume of the cube that results from folding a water bomb from a square of a given size? What is the surface area of the cube? Each of these questions can be answered by a variety of methods. You can calculate the volume, but you can also measure the volume by filling up the water bomb with a known volume. Of course, metric measurements are helpful here. Similarly, you can calculate the surface area by a calculation based on the (calculated) dimensions of the cube.
To help calculate the surface area, you can color the surfaces of the water
bomb and then unfold the model. The coloring does not have to be complete. Just
make sure you mark every facet. It is also a good idea to mark the edges though
these markings also need not be exact. Before unfolding, ask the students to
guess (visualize/imagine) what (where) the colored areas will be. It is a
separate and fun exercise just to add up these areas. A more elaborate exercise
is to account for all of the original surface areas by keeping count of the
areas of multiple thickness. Pictures of the process were taken with a digital
camera.
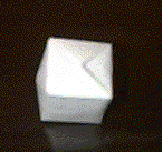
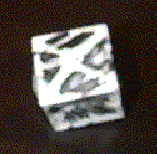
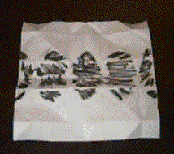
Re-folding the model, with the outside surface area marked, and following how that paper moves seems to reveal new sides, so to speak, of folding. I recommend this tactic for other models.